Poradňa
Ako prebieha montáž panelov
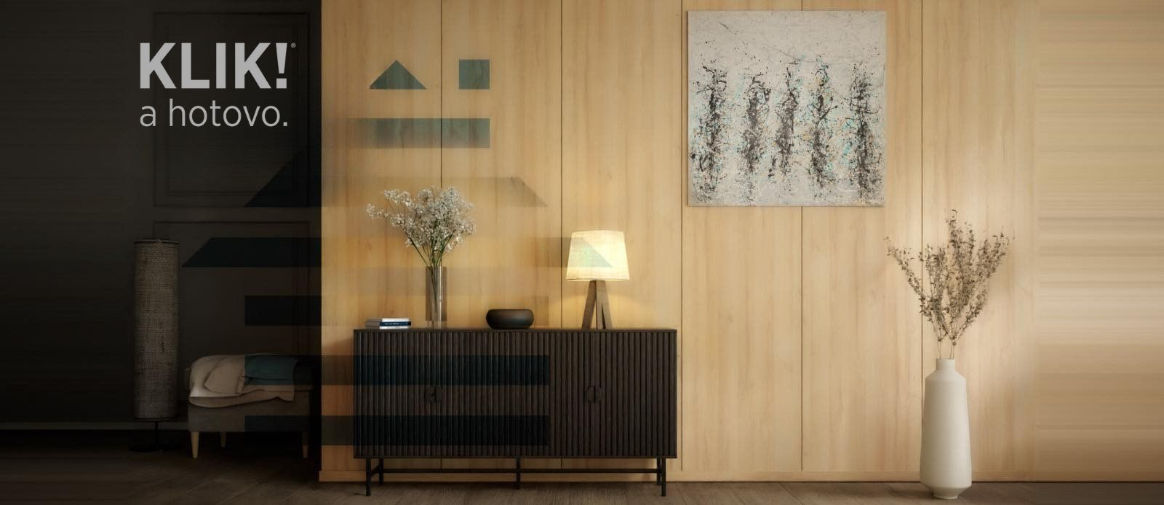
Panely sa montujú na drevený alebo kovový rošt pomocou skrutiek cez spoj pero-drážka, čo vytvára čistý a jednotný výsledok.
Kľúčové body na prvý pohľad
Pripravte rovný a stabilný drevený alebo kovový rošt.
Panely kotvite postupne cez systém pero-drážka.
Hrany a finálne dorezy robte až po presnom založení celej skladby.
Ako k tomu pristupujeme
Praktické odporúčania pre reálne projekty
Základom dobrého výsledku je správne pripravený drevený alebo kovový rošt. Pomáha vyrovnať podklad, zjednodušuje založenie línie a dáva panelom stabilnú oporu na celej ploche steny alebo stropu.
Panely sa kotvia pomocou skrutiek a spájajú cez systém pero-drážka. Vďaka tomu je pohľadová škára jednotná a montáž pôsobí čisto, predvídateľne a rýchlo bez zbytočných mokrých procesov.
Systém nevyžaduje špeciálne náradie. Pri presnom zameraní, správnom rozložení a čistom dorezaní krajov zostáva celá montáž efektívna aj pri atypických rozmeroch miestnosti.
Záverečný krok
Keď je smer už jasný, je čas vybrať formát a dekor.
Uzavrite plánovanie konkrétnym ďalším krokom. Prejdite priamo do katalógu alebo nám pošlite projekt a pomôžeme vám zúžiť správnu voľbu.